Value-added Service
myTV SUPER
Home Wi-Fi
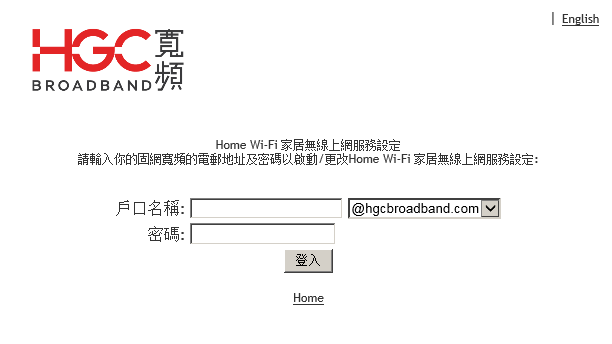
Open any browser and go to this website: http://hgcwifi.hgcbroadband.com/wifi.cgi
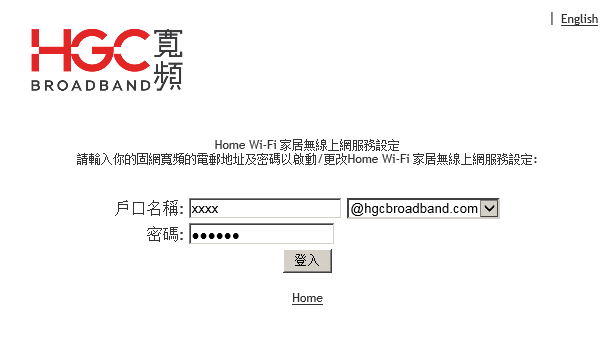
Input the email address provided by us and password then press “Logon”.
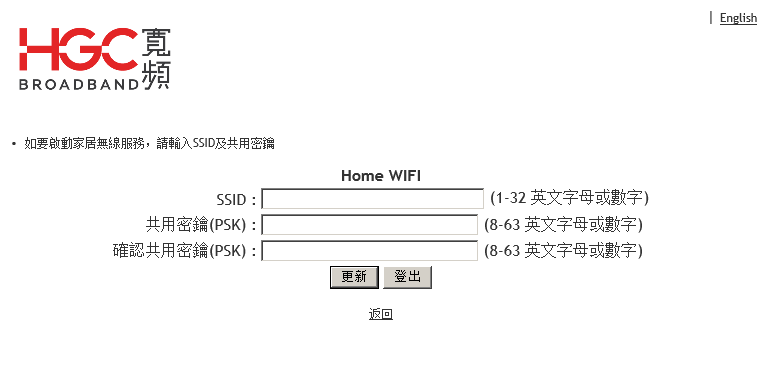
The setting page will show up after a successful logon. Please input the information accordingly.
SSID: Wifi name
Network Key(PSK): The Password for this Wifi.
Please press the button “Change My WIFI profile” after you have filled in all the blanks correctly.
If it suggests that you have set up successfully, please restart your modem and wait for a while until you can search the SSID, then connect it with you mobile devices.
hgc on air
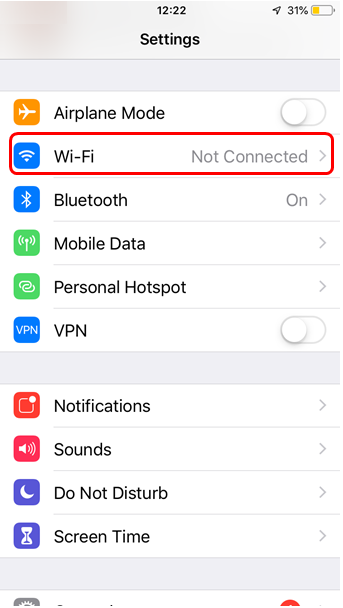
Below screenshots were captured with iOS 12.0. Note that procedures or interface may vary depends on handset models and / or iOS version.
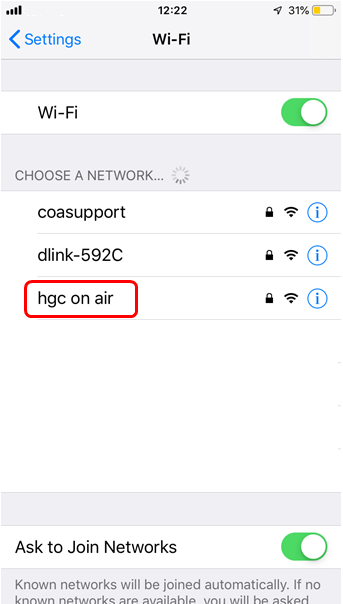
1. Enter “Settings” and enable “Wi-Fi”.
2. Select network “hgc on air”
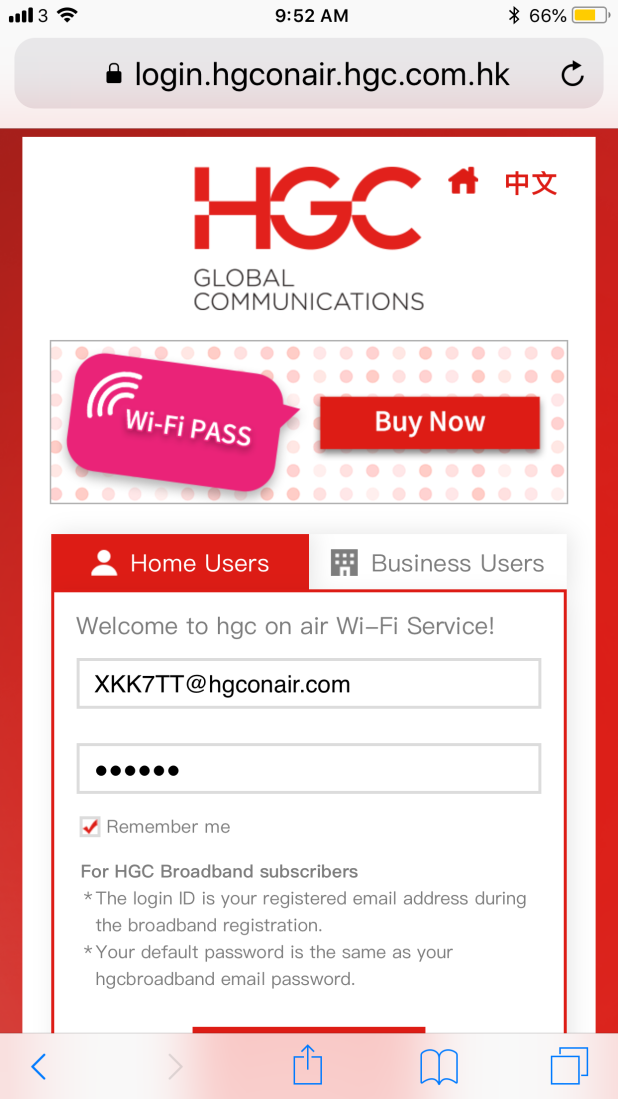
3. Open the browser of your phone, enter your “Username” and “Password” and click “Submit”. You may also check the “Remember me” box if you don't want to input the above information again whenever you connect to “hgc on air ” hotspots using the same device.
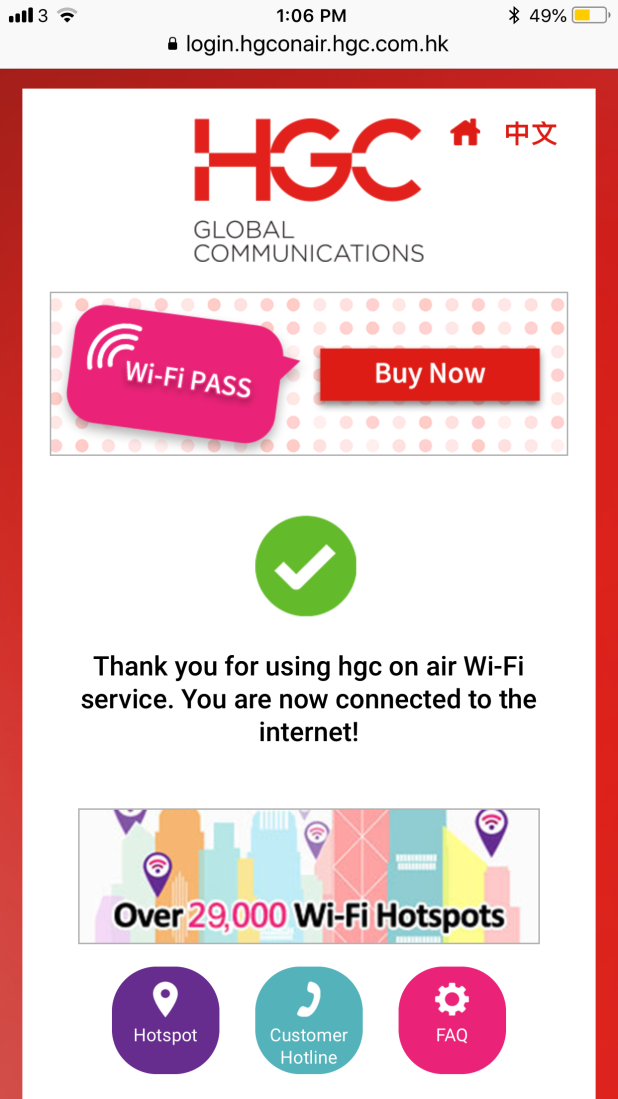
4. Login success! Now you can enjoy surfing the web via hgc on air Wi-Fi network!
Below screenshots were captured from an Android 6.0 handset. Note that procedures or interface may vary depends on handset models and / or Android version.
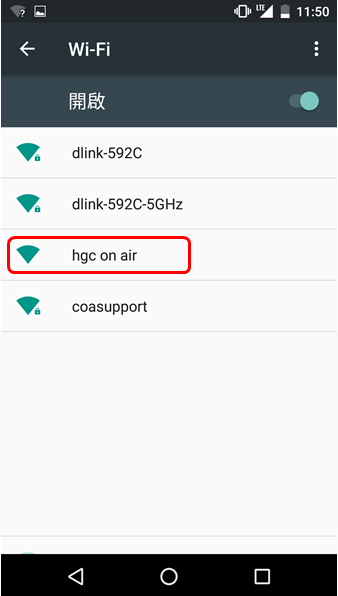
1. Enter “Settings” and enable “Wi-Fi”
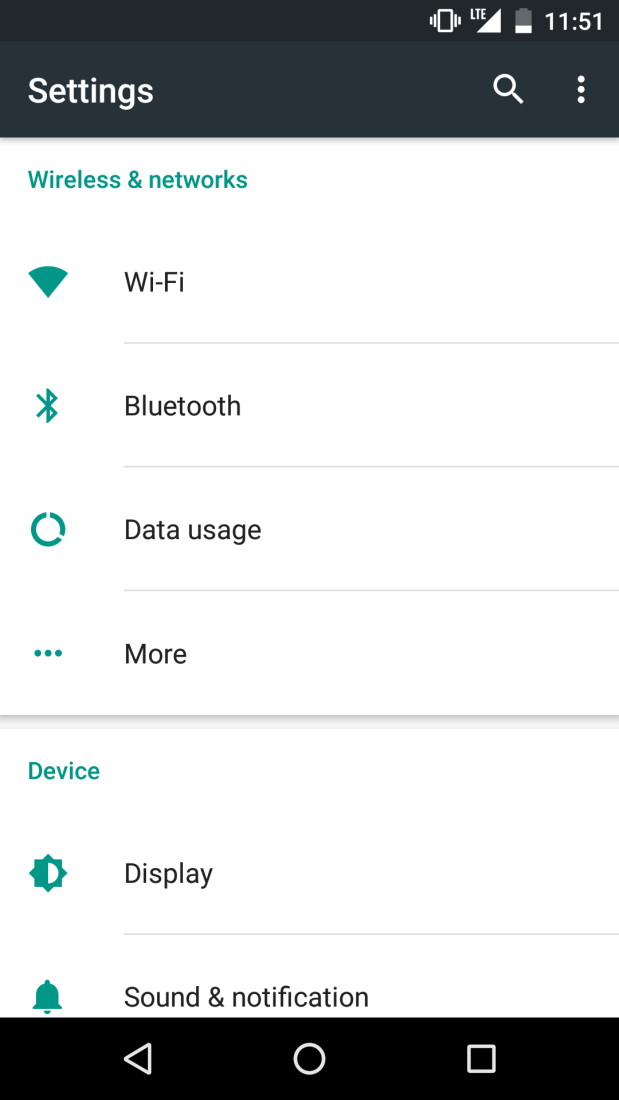
2. Select network "hgc on air” and press "connect"
3. Open the browser of your phone, enter your “Username” and “Password” and click “Submit”. You may also check the “Remember me” box if you don't want to input the above information again whenever you connect to “hgc on air” hotspots using the same device.

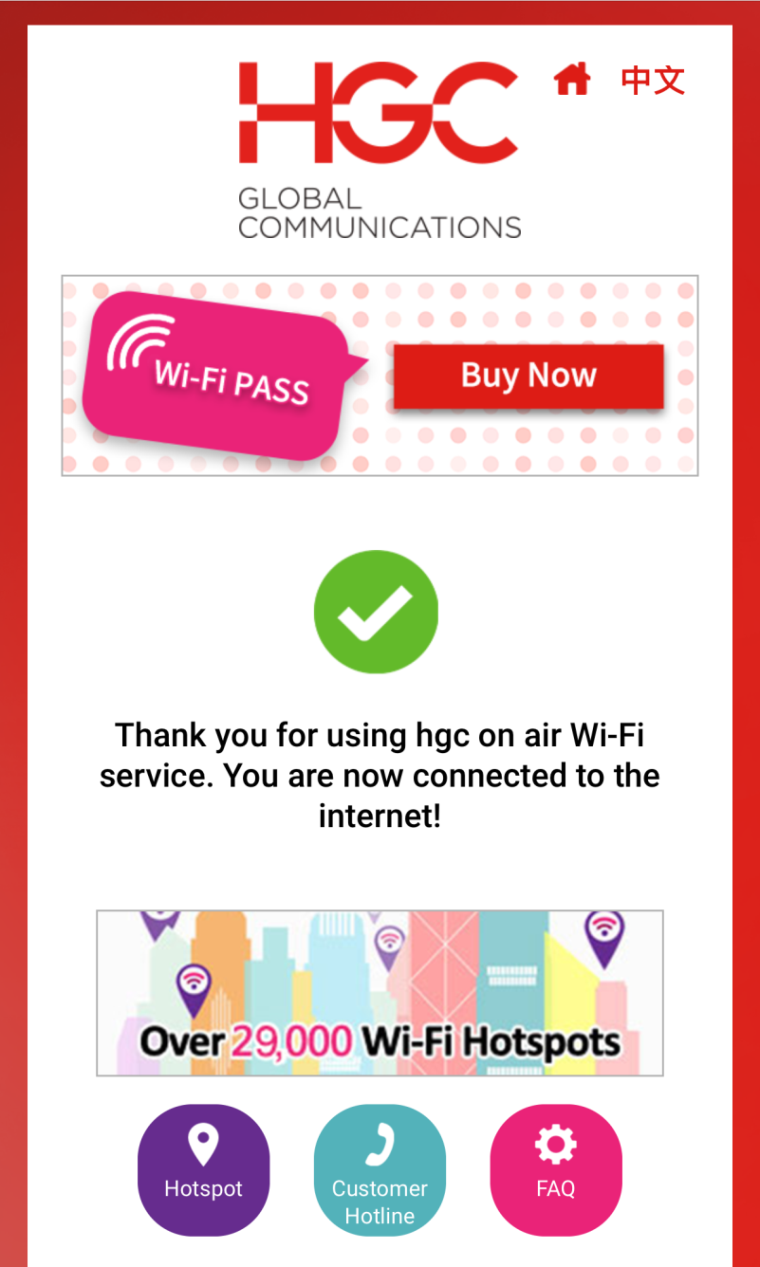
4. Login success! Now you can enjoy surfing the web via hgc on air Wi-Fi network!
Below screenshots were captured from two notebook computers using Windows XP and Windows 8 respectively. Note that procedures or interface may vary depends on Windows version.
1. Turn on the Wi-Fi function of your computer and search the nearby Wi-Fi networks. Select “hgc on air” to connect.
* Please confirm that your Wi-Fi settings are enabled.
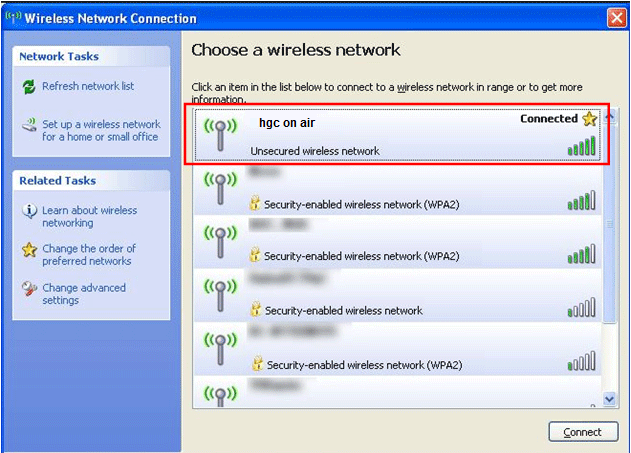
(Interface of Windows XP)
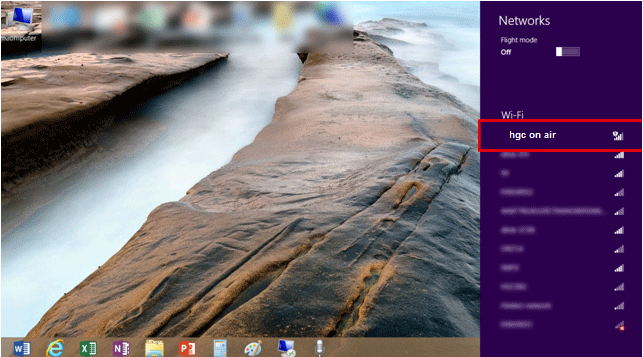
(Interface of Windows 8)
2. Open any internet browser, enter your “Username” and “Password” and click “Submit”. You may also check the “Remember me” box if you don't want to input the above information again whenever you connect to “hgc on air ” hotspots using the same device.

3. Login success! Now you can enjoy surfing the web via hgc on air Wi-Fi network!

Below screenshots were captured from a Mac OS X 10.8.5. Please note that procedures or interface may vary depends on OS version.
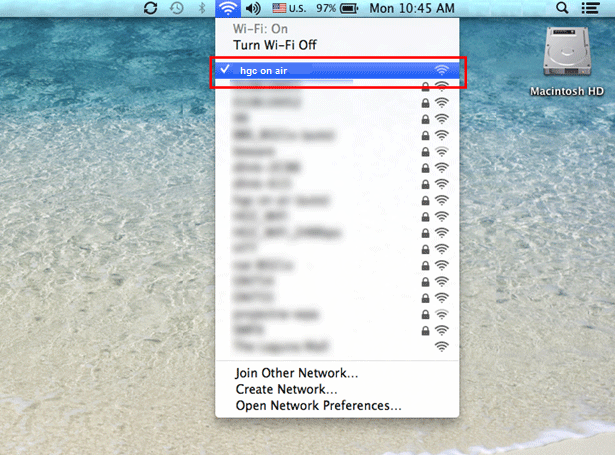
1. Turn on the Wi-Fi function of your MacBook and search the nearby Wi-Fi networks. Select “hgc on air ” to connect.
* Please confirm that your Wi-Fi settings are enabled
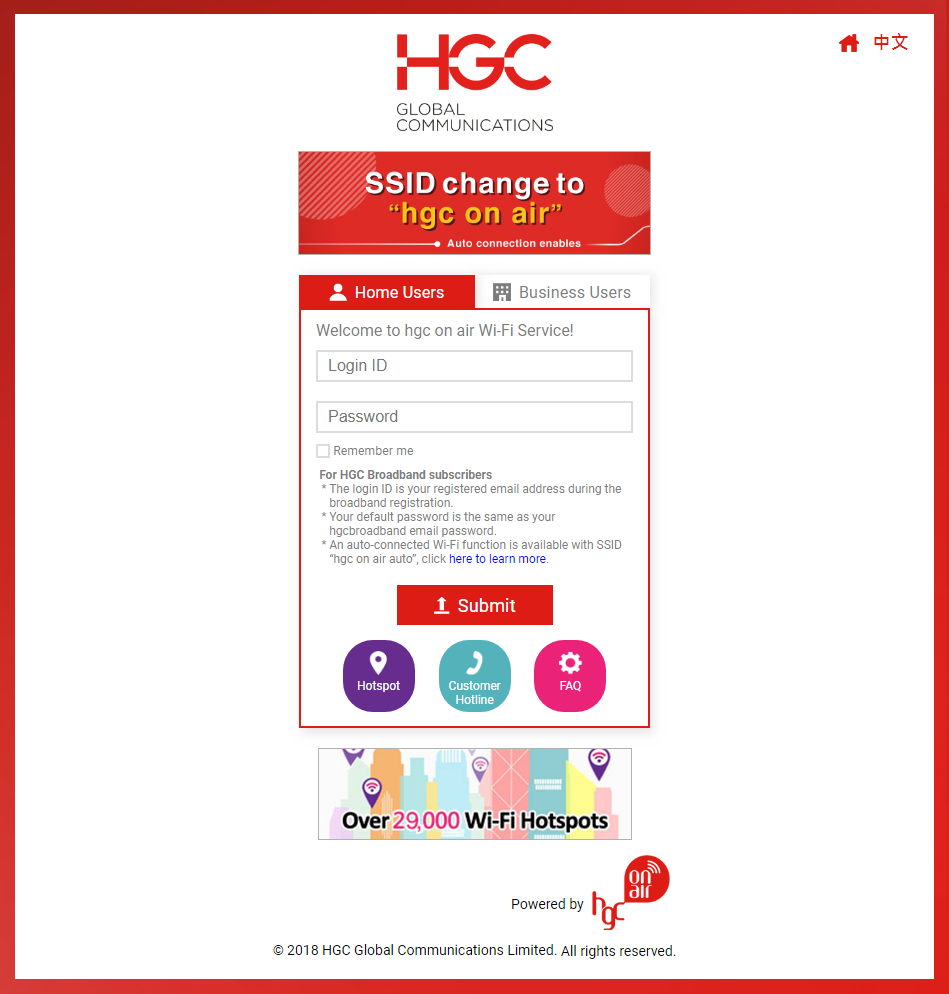
2. Open any internet browser, enter your “Username” and “Password” and click “Submit”. You may also check the “Remember me” box if you don't want to input the above information again whenever you connect to “hgc on air” hotspots using the same device.
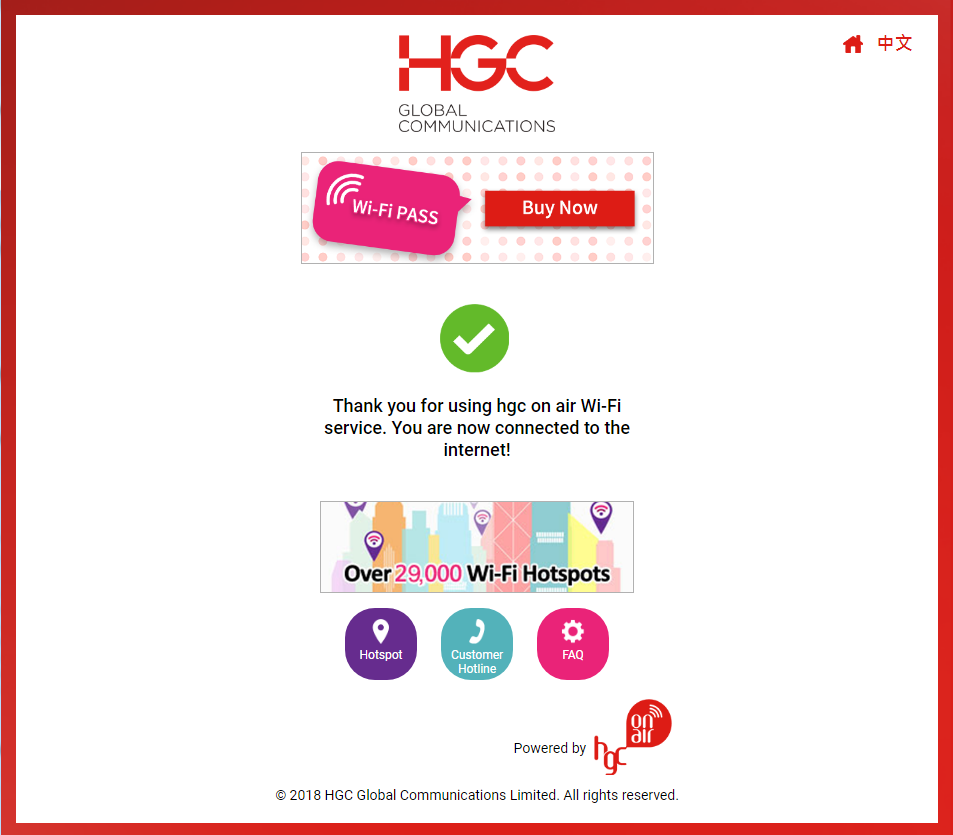
3. Login success! Now you can enjoy surfing the web via hgc on air Wi-Fi network!
Home e-Fax
Please make sure you have installed the “HGC Send Fax” program first.
You can check the details on this link:
http://efax.hgcbroadband.com/sendfax_install_guide.html
Please install the program according to your operating system.
Please be aware of 2 important facts for our efax service:
1) Please make sure the file you want to send is in A4 or smaller size, otherwise the file will be converted to A4 automatically which may affect the quality of the image.
2) You can send the fax 50 pages or size around 10MB at one time.
After you have installed the program, open the file you want to send (can be text, pictures and so on).
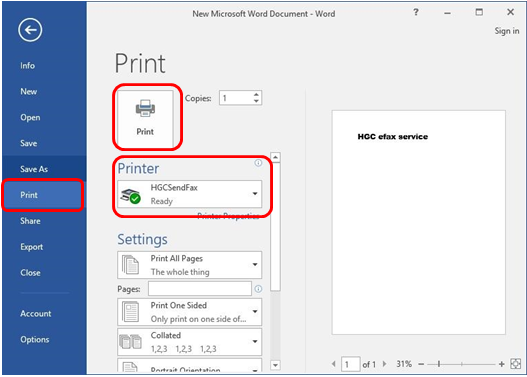
Then find a way to get to the “Print” button(Example with a word document):
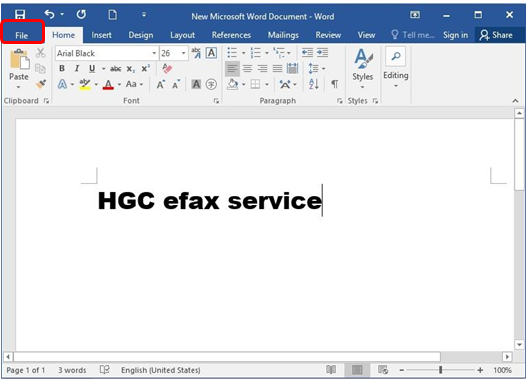
In Print, please select the printer called “HGCSendFax” then press “Print”.
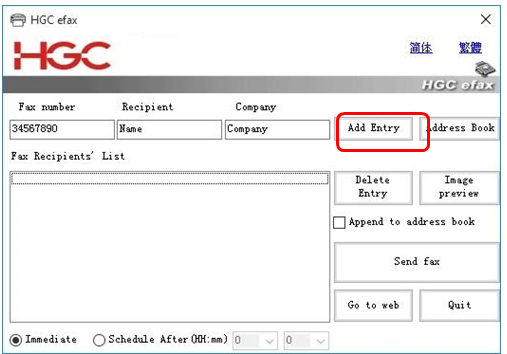
A window will pop up for login info. Please input your efax number and password then press “Login”.

If Login successfully, you can fill in the destination fax numbers in “Fax Number”; Receiver’s name in “Recipient”; Receiver’s Company name in “Company”.
Then click “Add Entry” to add the information into the list below.
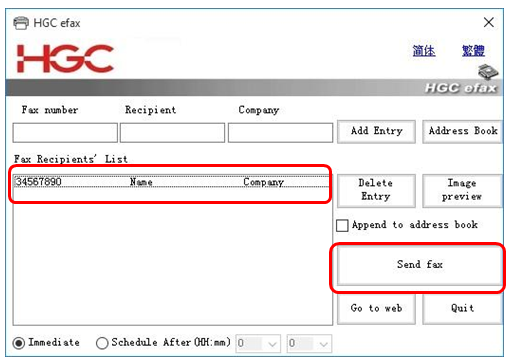
If you want to send the fax to several receivers at the same time, please do the same step to add more information in the list.
And then press “Send fax” button to send out the fax.
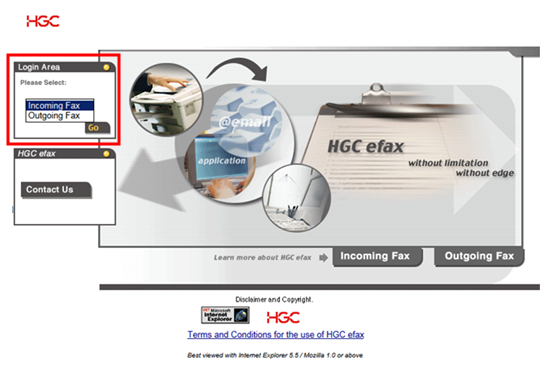
If you want to check the efax inbox, change preference setting or change the login password, please go to this website:
http://efax.service.hgcbroadband.com
Choose Incoming fax in Login Area then press Go to check your efax and do the incoming settings.
Input your efax number and password then press Enter.
In the front page, you can check or save the efax you have received.
(All efax will only be kept for 14 days in efax server, please make sure to download the IMPORTANT EFAX as soon as possible)
In Preference you can set auto forward function on your efax service.
When you have input a valid email in the blank under Forward all received fax to:, press Add Forward to add the email in the forward list on the right.
You can add three email addresses in this list and every fax which is sent to your efax number will be forwarded automatically.
In Change Password , you can change the login password for efax by your own.
FAQ
Yes. Our home efax transmission service includes the IDD0082 service by default. IDD usage charges are calculated in minutes (rounded up to the nearest minute).
No.
No.
No. You can only use “0082” as the IDD prefix. To send an efax to a foreign number, first click on “0082”, then click on “Country number”, “Region header” and “Fax number”.
Use of efax in a foreign country will depend on the services, settings, stability and charges of the local network.
No. We will randomly assign new independent fax numbers to you. If you want to keep your existing fax number, you can use MNP (mobile number portability) and then apply for our permanent call forwarding function to transfer to your efax number.
Please call our 24-hour customer service hotline, 1223.
Please call our customer service hotline, 1223.
Customer Service will check whether the account has been set up successfully in the system, and then confirm the login name with you. If the data is correct, the password can be reset for you. You will then be asked to try again.
If you are still unable to log in after resetting the password, you can contact the Technical Support Department for follow-up.
Basically, as long as you can connect to the Internet, you can use efax anywhere in the world. However, the actual situation still depends on the services provided by the local network service providers.
If you use services provided by other network service providers, we can't guarantee that all efax functions will work, because we can't guarantee the services, settings and stability of their network. Please contact your network service providers to ensure that their networks are functioning properly and that there are no special blocking settings.
No. The number randomly assigned by the system cannot be changed.
Please visit efax.service.hgcbroadband.com.
Please call our customer service hotline, 1223, then select Technical Support.
Yes. We will notify you by email that the efax service is formally effective and the efax number and default password will be shown in the email to be used as the start date of both the efax service and the contract. (To protect the interests of the customers, customers are reminded to change the default password right away and to regularly change passwords.)
There is no such limitation.
No. To send a fax, you must install a program. The installer and program can be obtained at efax.service.hgcbroadband.com.
No.
You can check the fax records of the previous year online.
No.
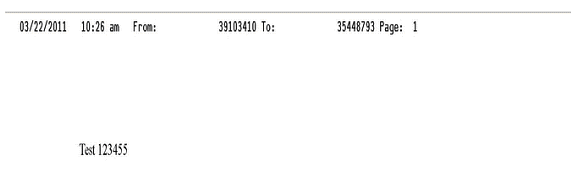
The fax number, fax sending date and time, and number of pages are displayed at the top of the fax file (as shown). “HGC” will not be displayed and the display contents cannot be changed.
Faxes of up to 50 pages or 10Mb can be sent at a time.
You can send to up to 5 fax numbers at a time and can select recipients from your address book or press “Add entry” to enter a number.
No.
Yes. In general, printable files are supported.
No, but you can check your usage in the previous year online, including the total number of faxes sent, total number of fax pages and total sending time.
No, but you can check the fax status online.
A retry will be made every 5 minutes, and a total of 5 retries will be made.